How to set up a custom CRM in Dashboard
To get started head to Ultimate.ai to create an account or contact sales. Having access to an account will be required in rest of the article. In order to make the bot production ready please properly train the model.
This tutorial does not cover the training and configuration of the bot.
Step 1: Create new CRM integration
- Log in to Ultimate’s dashboard
- Select the bot using bot selection in the top right corner of the screen
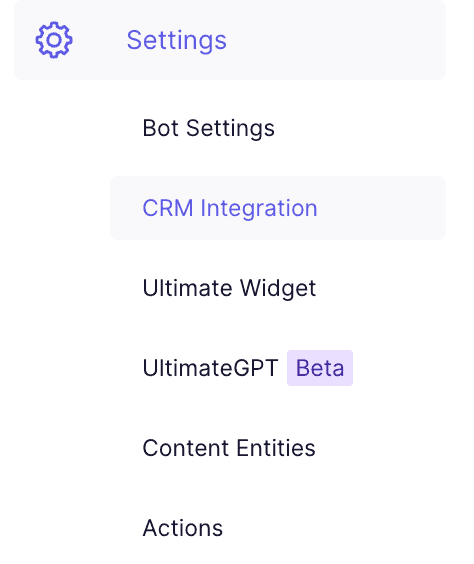
- Navigating to the Settings > CRM integration

CRM settings location - From the dropdown, choose the Add custom CRM integration option
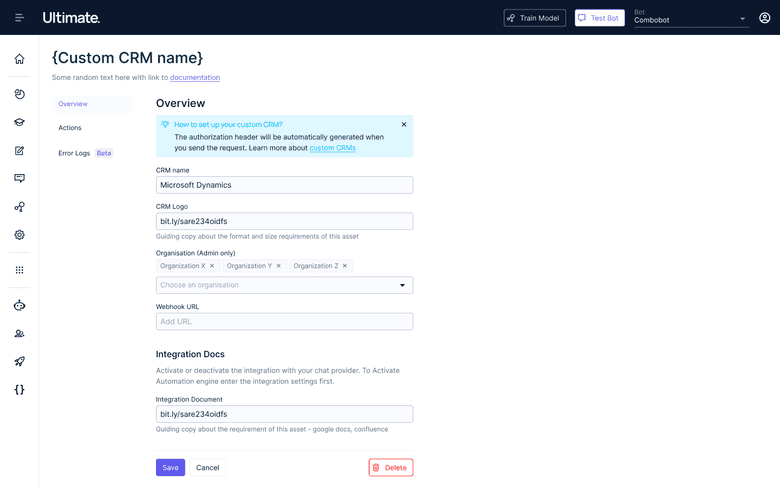
- Fill in the name of the Integration
Once the integration is created, start filling in the technical information of the integration
Best practices
Messaging webhook url & Integration name are mandatory fields. Feel free to put https://test.com/ as a placeholder for now.
Once the integration is saved,
it can be now assigned to any bot that belongs to the same organization of the bot.

Step 1: Assigning the custom integration to the bot
Selecting the newly created integration to be the target for having conversations with the bot:
- Start by navigating to the Settings > CRM integration
- From the dropdown, choose the newly created integration
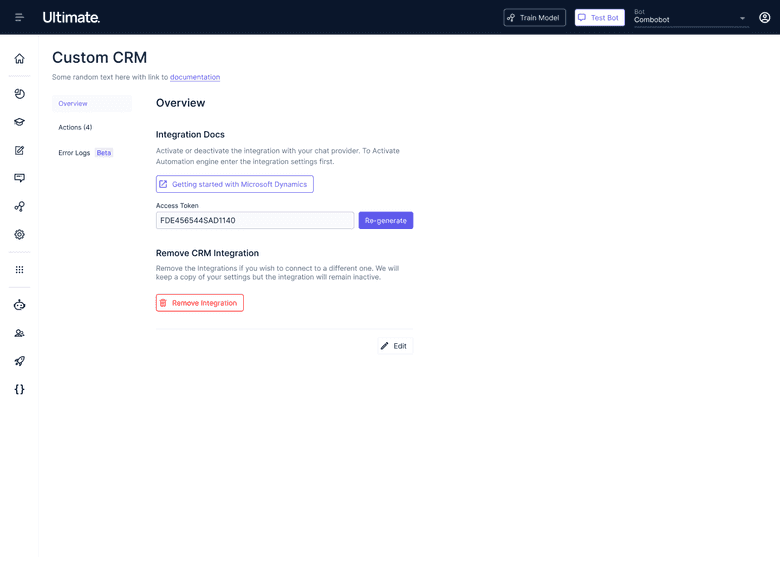
- Now the integration is assigned to the bot, and the bot is waiting to have new conversations
- The access token can be found in the same view. This is a read only token that gives access to the API for only this bot. This token is going to be used for any communication between the custom CRM application and this bot. The token will be copied to clipboard automatically.
Pro tip
Access token is needed from every bot that is going to install this integration.
